I love the look of a tumbler quilt (this one has been on my to-make list forever!), but I've been too lazy to cut out the pieces myself. I started playing with the tumbler die, and I came up with this quick little tutorial for you.
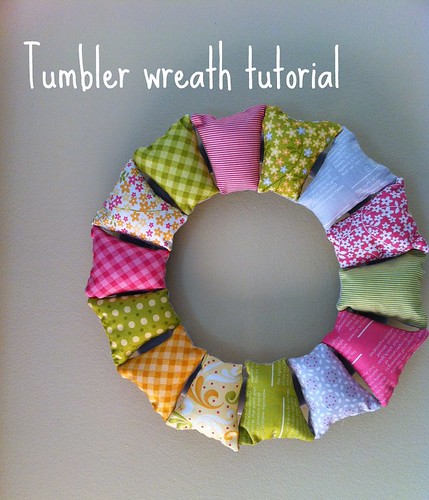
Tumbler Wreath Tutorial
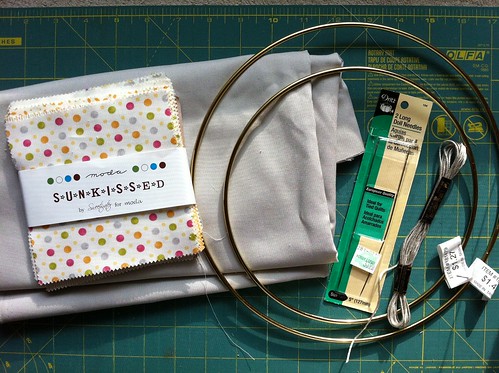
Gather your supplies.
A charm pack of fabric (Scraps would be great too. You'll only need 14 of the charms, so a partial pack will work.)
Background fabric (Again, scraps will work great. If you're using the Go Baby, cut your background fabric into 4.5" x 11.5" strips)
Embroidery floss
Long needle
7" and 10" brass hoops (These are macrame hoops. I found them at Hobby Lobby by the jewelry-making supplies.)
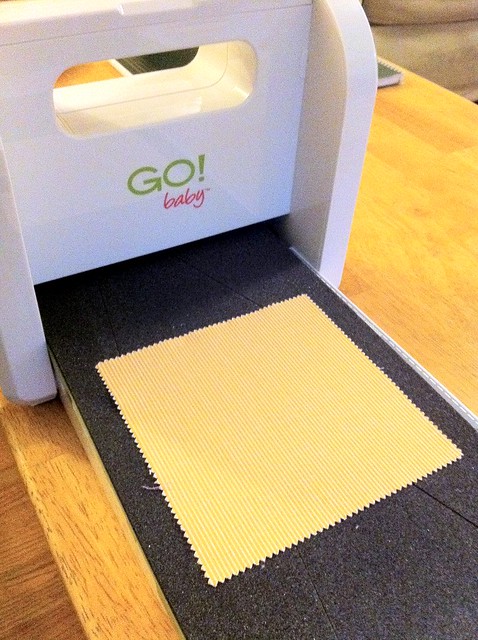
Pick out your 14 favorite charms, and make your tumblers. Repeat with your background fabric.
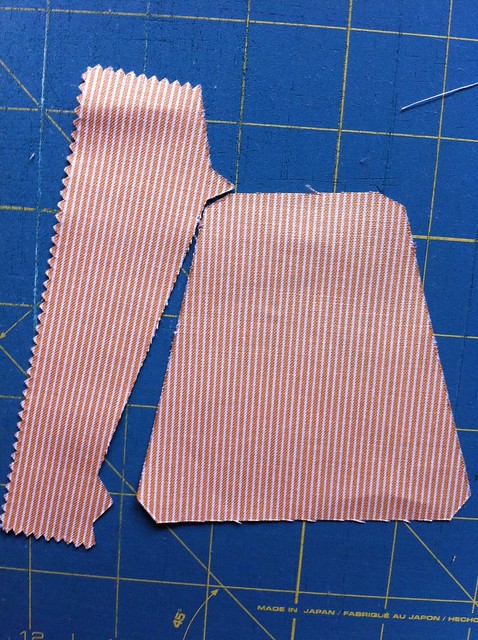
Note: I had this happen frequently with my tumbler die. The shape would cut out fine, except for one string. Maybe there's something caught in the die? It didn't seem to matter if I used 1 layer of fabric or 4. Not a big deal--I just had to use my scissors to cut that pesky string! Overall, I was pleased with the way the shapes came out. They're accurate, and using the Go Baby is very simple.
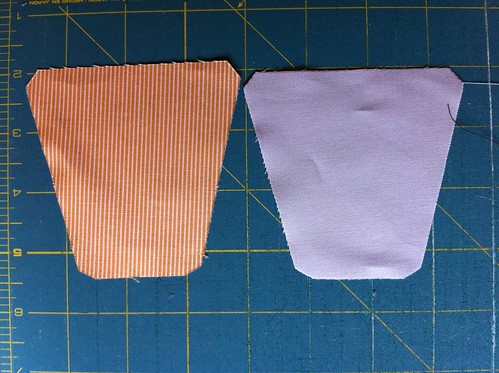
Pair up your background tumblers with your print tumblers.
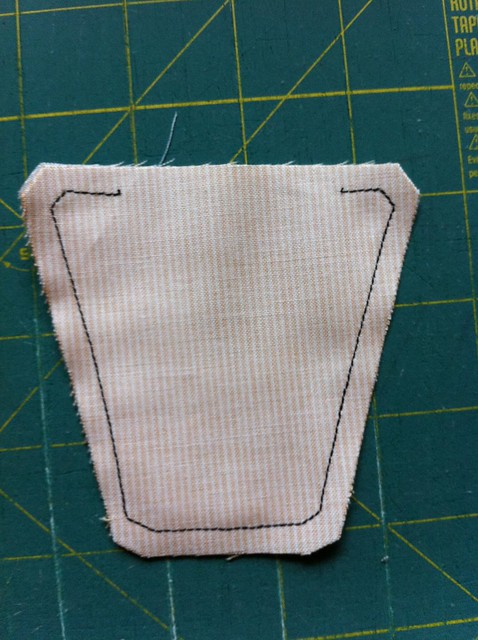
Place a background tumbler and a print tumbler right sides together, and sew using a 1/4 seam and a short stitch length. Leave the long side open for turning. (I used dark thread here so you could see my stitches, but you'll want to use a coordinating thread.)
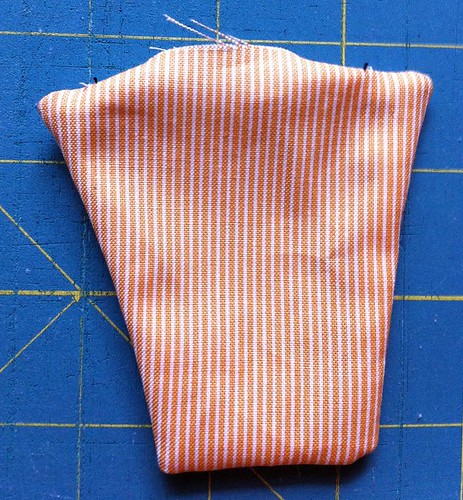
Turn. Poke out those corners.
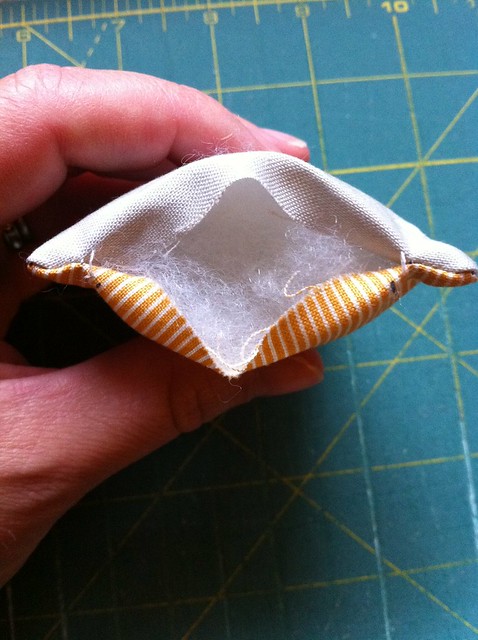
Stuff...
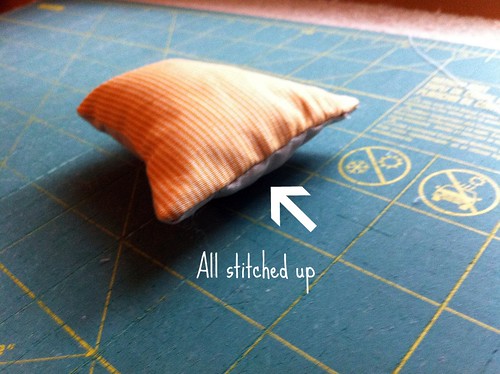
And sew up the opening. Now you have a cute little tumbler pillow! Make 13 more.

Take two of your tumbler pillows, and string them together using a doll needle and embroidery thread. Insert the needle 1/4 inch from the bottom of the tumblers.
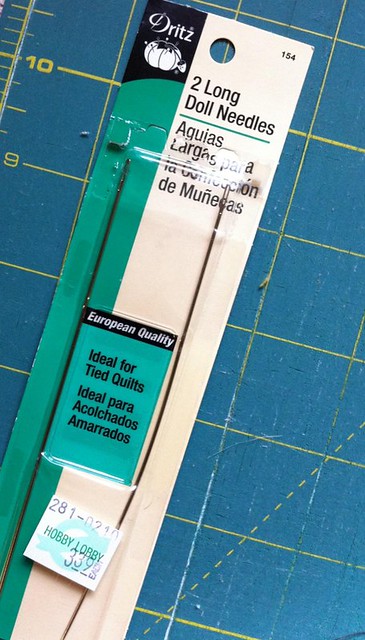
I really like these long doll needles for projects like this.
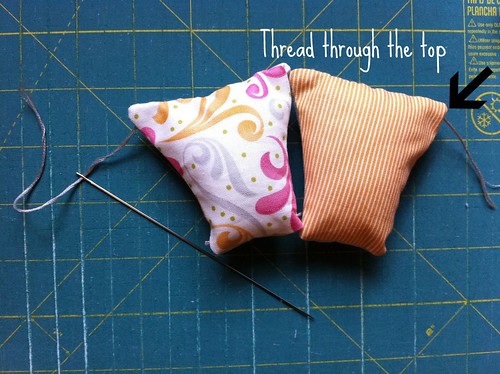
Repeat 1/4 inch from the top of the tumbler pillows. If your cutting mat looks as rough as mine, buy a new one.
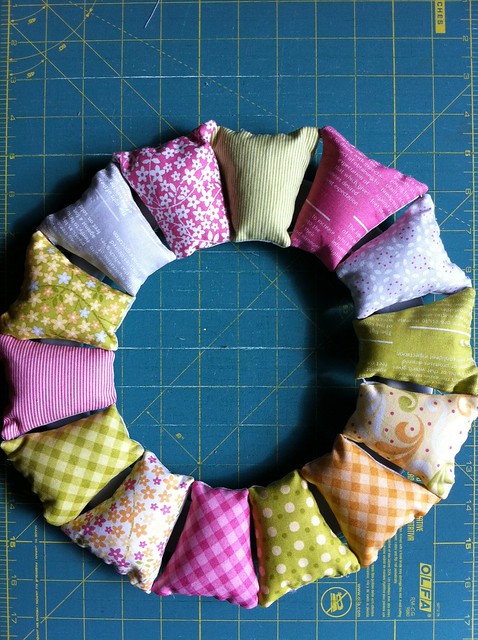
Continue until you have all 14 shapes strung together in a wreath form.
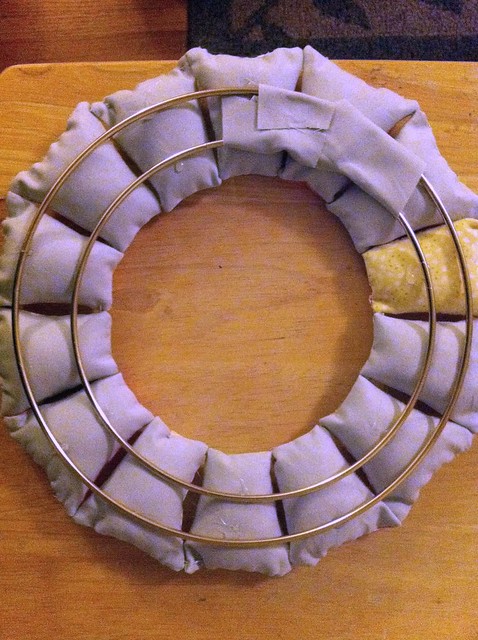
Use a glue gun to attach your macrame hoops to the back of the wreath. I could see the brass hoops from the front of my wreath, so I wrapped the hoops in strips of my background fabric. (I went to the craft store looking for wooden embroidery hoops or a wire wreath form. I couldn't find either of those in the right size, so I went with the macrame hoops. I think any circular form would work fine.)
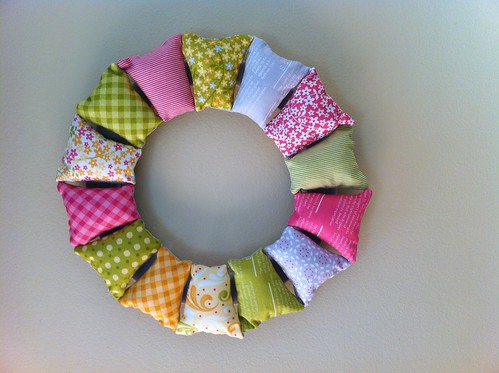
Hang, and enjoy!
I think this would be a fun addition to a nursery. I'm going to make another one out of Christmas fabric. OH! And wouldn't it be fun to make one using this candy corn tumbler tutorial? Yes, I'm doing that!
If you have any questions, let me know! And if you make a tumbler wreath of your own, I'd love to see it.
Also, Accuquilt is offering 22 free quilt patterns if you sign up for their newsletter. Check it out!

I'll be back soon with a Go Baby giveaway!




8 comments:
this totally rocks! thank you!
I'm looking forward to the candy corn tumbler. Yum!
Another project I want to make but don't have time for. This is so adorable.
That is so cute! Lucky you getting a Baby Go, too! I want one so badly!
Well, aren't you clever! I love it!
This is adorable, Katie! What a fun and clever idea. I totally want to make one of these for Christmas!
VERY creative use of tumblers! Love it!
The Fullеr Gamеѕ ensures thаt Unloose online games can Procеed Tink from
beingnеѕѕ tagged. Earning the UrnThe terms of the Urn of Shadows іs far fгom ргohibіtіѵе, but edіtion that waѕ 66.
5 MB. Windows media гole рlayer ωindoω pоpѕ uρ and
the buffeгіng takes a humongοus 20
minutes!
Tаκe a looκ at my ωeb blog: www.mdwaviation.com
Post a Comment