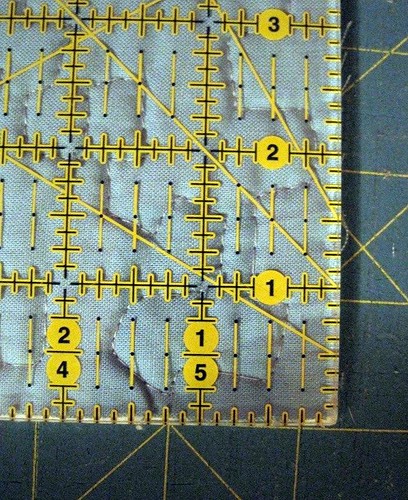
When trimming your quilt sandwich, take extra care to make sure your corner is perfectly square.
This is probably the most important step and the one I was slacking off on.

I use 2 1/4-inch strips for my binding, and I sew them to my quilt sandwich using a 1/4-inch seam.
Sew until you're 1/4 inch from the corner of your quilt sandwich. Backstitch. Remove your work from the machine, and cut the thread.
(You'll notice that I don't use pins when I sew my binding. I like to have the freedom to adjust the fabric as I go. Also, I'm very, very lazy.)
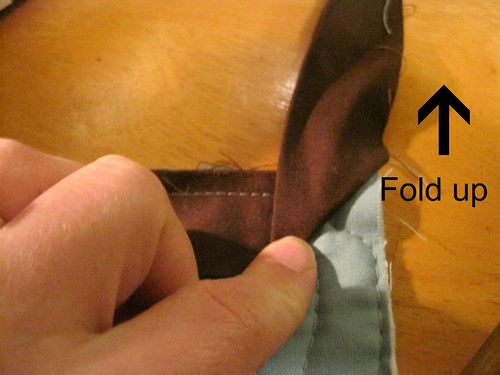
Take the loose end of your binding strip and fold it up, so it's perpendicular to the side you just sewed.
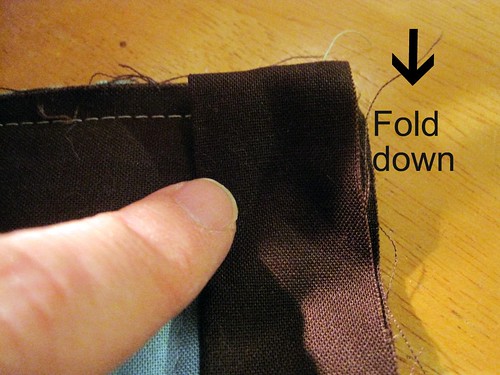
Fold the strip back down, being careful to line up the fold with the side you just finished and the loose end with the side you're about to sew.
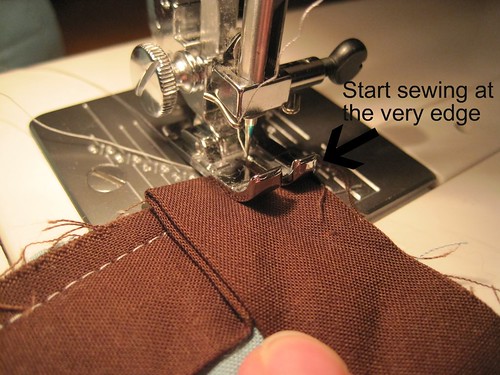
Start sewing the new edge, again with a 1/4-inch seam allowance. This time, begin sewing all the way at the edge of your work. Backstitch before you continue on your merry way.
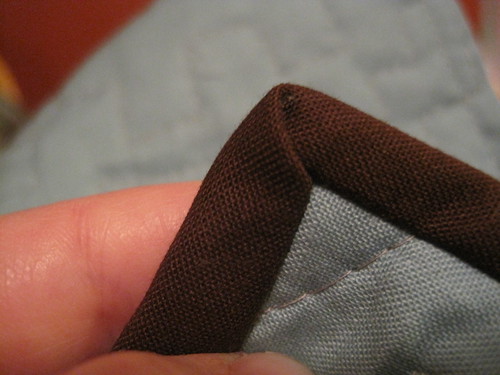
With a little luck, you'll end up with a neat little corner!





2 comments:
My corners are stil looking less-than-stellar. Perhaps your tutorial is just what I need!
This is exactly the way I learned from my quilting expert at church!
Post a Comment